Amelia Crafton is a seasoned artist and resin enthusiast. She has been working with resin for over a decade, creating stunning pieces of art and teaching others the intricacies of this versatile medium. Amelia's passion for resin art is evident in her detailed and informative articles.
Creating a large resin mold for a tabletop can be a rewarding DIY project. It might seem intimidating at first, but with the right tools, materials, and a step-by-step guide, you'll be crafting your own beautiful resin tabletops in no time.
🎨 Let's Start with Gathering Your Resin Art Essentials
First, you will need the following items:
- Resin and hardener
- A large, flat surface to work on
- A mold release spray
- A plastic sheet or a silicone mold
- A squeegee or a popsicle stick
- Gloves, goggles, and a respirator for safety
Consider our comprehensive guide for more details on the materials and tools you'll need.
🔧 Setting the Stage: Preparing Your Tabletop Resin Mold
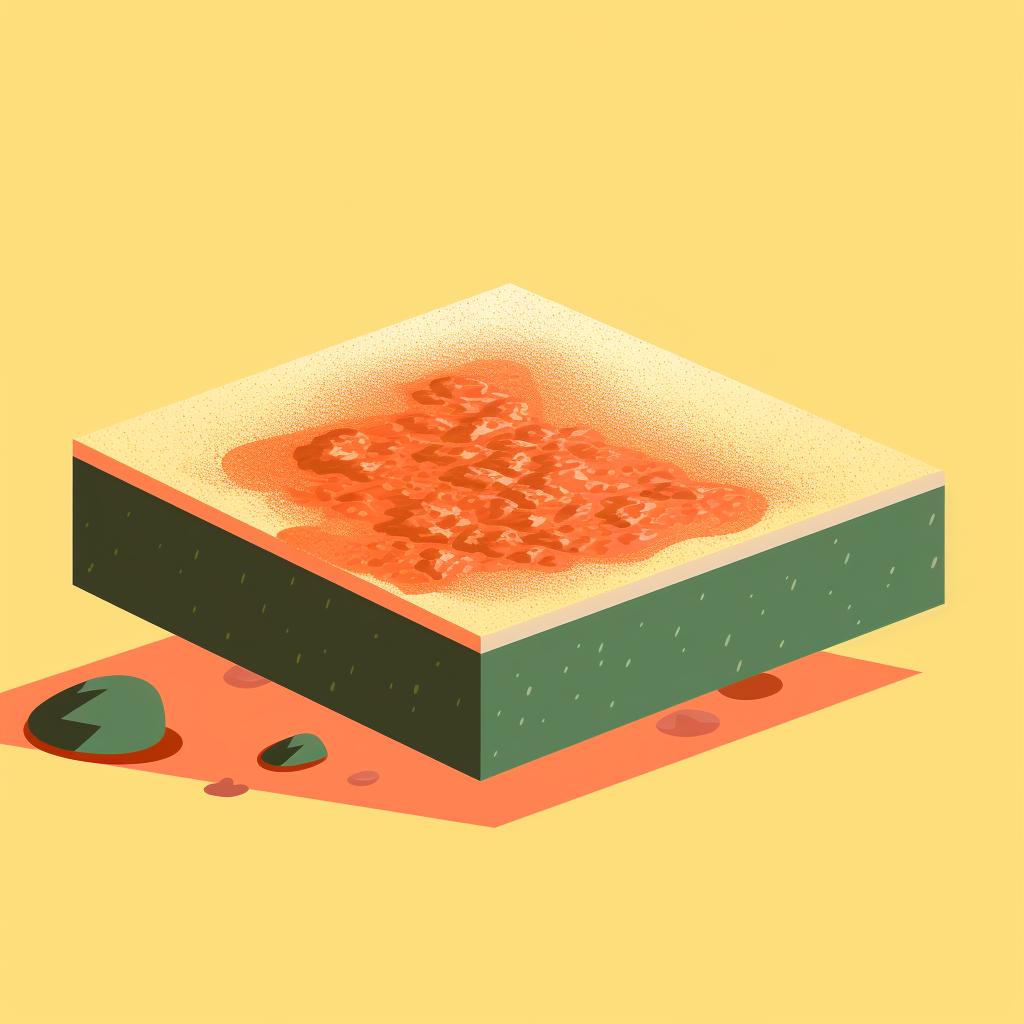
Preparation is essential when making large resin molds. Start by choosing the right size and shape for your tabletop mold. It can be a plastic sheet or a silicone mold. Ensure the mold or plastic sheet is clean and free of dust. Apply a coat of mold release spray to make it easier to remove the resin once it has cured.
Now that we've chosen the right size and shape for our tabletop mold, let's proceed with the preparation process.
Learn more about 🔥 Mastering Resin Mold Preparation: Step-by-Step Guide 🔥 or discover other Style Resin guides.
With the mold perfectly prepared, we're now ready to get into the exciting part: working with the resin. Remember to protect your work area and wear protective gear.
When working with resin, remember to protect your work area and wear protective gear. Resin can be sticky and hard to clean up, and it's essential to safeguard your health and safety.
🔬 The Art and Science of Mixing and Pouring Your Resin
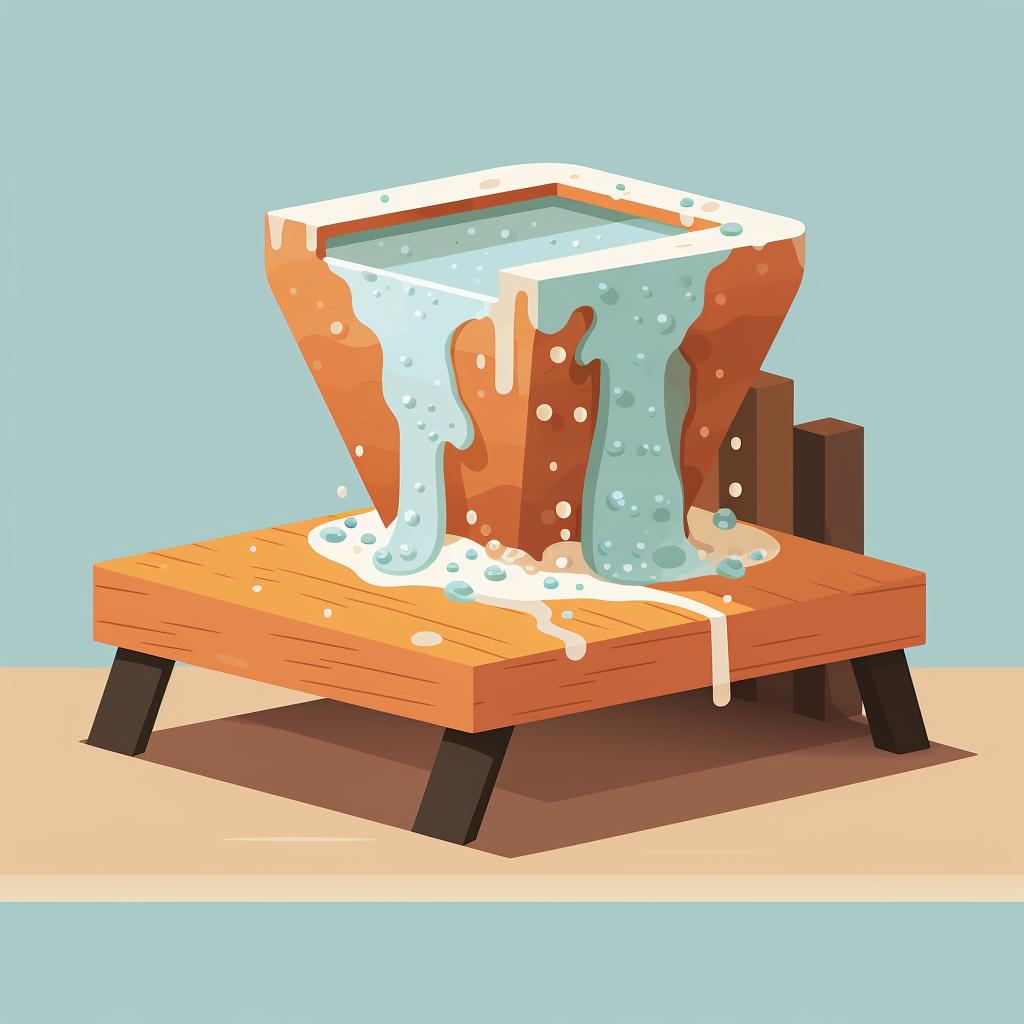
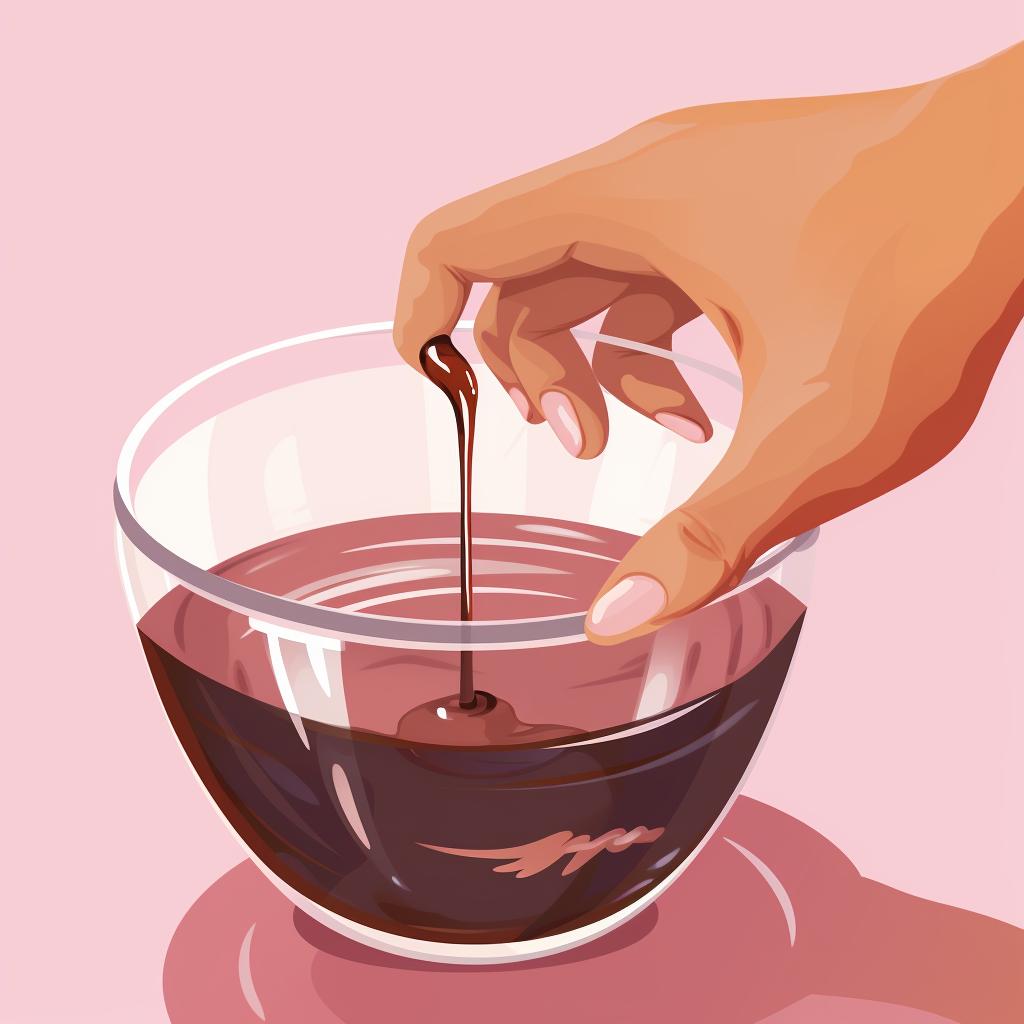
Now comes the fun part: mixing and pouring the resin. This is a crucial process, and it's important to follow the manufacturer's instructions when mixing the resin and hardener. Remember, the ratio of resin to hardener is key to achieving a good result.
Let's dive into the heart of the process - mixing and pouring the resin. Here's a step-by-step guide to help you master this crucial stage.
Learn more about Master the Art of Mixing and Pouring Resin 🎨 or discover other Style Resin guides.
Now that you've successfully mixed and poured the resin, it's time to ensure it spreads evenly across the mold. Let's move on to the next step.
After pouring the resin into the mold, use a squeegee or popsicle stick to spread it evenly. You can also use a heat gun to remove any bubbles that might appear.
⏳ Patience Pays Off: Letting Your Resin Artwork Cure
Patience is key in the final step of the process. Letting the resin cure can take anywhere from 24 to 72 hours, depending on the type of resin you're using. You'll know it's fully cured when it's no longer sticky to the touch.
To give you a better understanding of the curing process, here's a time-lapse video of epoxy resin curing over a span of 12 hours:
As you can see from the video, the curing process is an exothermic reaction and takes time. Once the resin has fully cured, you can then proceed to the next step - removing it from the mold.
Once the resin has cured, you can remove it from the mold. If you've used a mold release spray, the resin should pop right out. If not, you may need to carefully cut the mold away.
And there you have it! You now know how to make a large resin mold for a tabletop. With patience and practice, you can create stunning pieces of resin art for your home or to give as gifts.
If you're interested in exploring more resin crafts for beginners or advancing your skills in resin art, check out our other articles on resin crafts and resin jewelry making.
Once the resin has cured, you can remove it from the mold. If you've used a mold release spray, the resin should pop r
ight out of the mold without any issues. To get started with your resin art project, consider using the Clear Epoxy Resin Kit 16oz. This kit is perfect for casting and coating jewelry resin, making it ideal for creating a large resin mold for a tabletop. With its two-part epoxy formula and easy-to-use instructions, you'll be able to achieve professional-looking results. Get your DIY Resin Art Kit today and start crafting beautiful resin pieces for your home or as gifts.


